
Before getting started, please check out the file upload requirements page.
When you are ready to upload a catalog/price list in the supplier portal, navigate to the configurations section of the portal:

Select the catalog section. You will see an option to add catalog items:
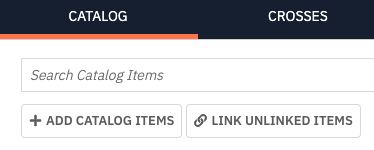
Select add catalog items. In order to upload a full catalog or price list, choose the Upload in Bulk option. This will prompt you to upload an excel file.
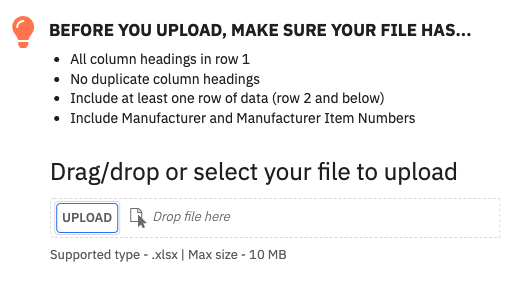
*Please note the file format requirement prompt.*
Drag and drop your file into the application:
Once you upload the file, select the "Next" button in the bottom right hand side of the screen. In the next step, you will map the column headers in the excel file. A data sample of your file will populate at the top:
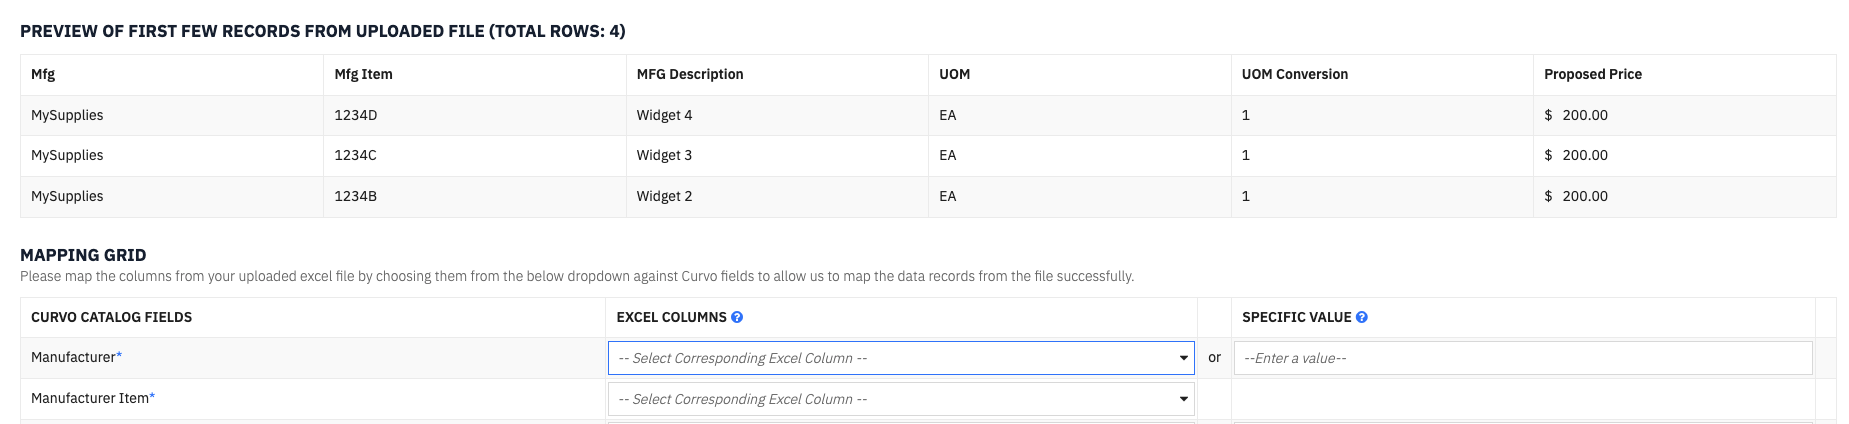
Catalog field mapping options:
- Manufacturer (required) - This should be your company name.
- Manufacturer Item (required) - This is the catalog item number.
- Vendor (optional)
- Vendor Item (optional)
- Description (optional) - This should be the catalog item description. While this field is optional, we highly recommend mapping this so the provider can review this information in the project.
- GTIN (optional)
- Category (optional)
- Sub Category (optional)
IMPORTANT: In order to pull in the relevant pricing for your offer, you must select the "Map A New Price Tier" link at the bottom. This is the only way the proposed pricing will populate in the project.

When you select the "Map A New Price Tier" link, you will be prompted to map in UOM as well as UOM conversion. Be sure that the UOM/Conversion included in the catalog is aligned with the proposed price tier(s).
Example: If the UOM and Conversion in the catalog are a Box of 10, the price should match that particular unit of measure, not the each price. Each prices can be used in the catalog upload, just be sure your UOM is an "Each" and the Conversion is a "1".
Once you map in the UOM and Conversion, you will need to map in your applicable pricing tiers. If you have not already loaded tiers in the "Tiers" tab within the Configurations section, you can add those now as a part of your file mapping. Use the "Don't see the tier you were looking for? Create new tiers" link:

Selecting this will prompt you to create new pricing tiers. Add the applicable tiers for this project and select create:

After you create the tier, it will become available in the "Select Existing Price Tier" dropdown. Map this to the applicable price column in your catalog:

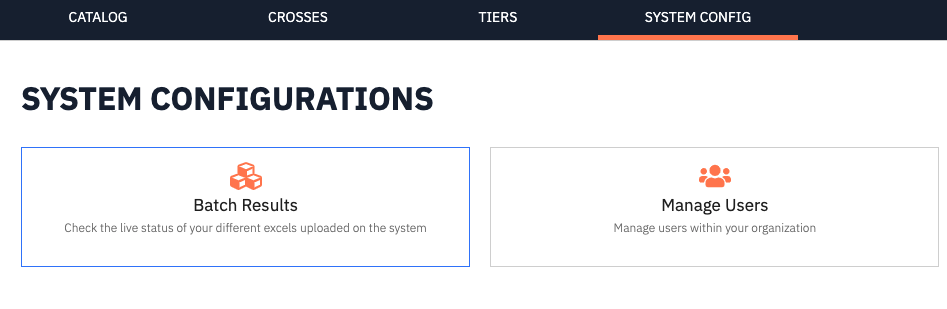
Once the pricing tiers are configured, select the "Submit" button in the bottom right. This will return you back to the catalog screen. Depending on the size of the catalog, it may take a few minutes to complete loading. You can go to the System Config tab and review the batch results to monitor the status of your file upload. This will let you know if there were any errors processing your file:
Note: Uploading your catalog does not automatically populate your items and pricing on any projects. That must be submitted in the Opportunities section within the applicable project.