
- Select a previously created message template, which will auto-complete the Subject and Content fields.
- Select the Default message template.
*The Subject and Content fields are required for you to advance to the next step and/or save the message as a template.*
There is a list of variables that you can include in your message, allowing the system to automatically pull the values into the email that will be sent to the vendors. (You are not required to use these fields. You can free text in the comment field or copy and paste from an external document into this field.)
- {SIGN_UP_DEADLINE} = Inserts the date of sign up deadline (Start Date)
- {SUBMISSION_DEADLINE} = Inserts the date of the submission deadline (Due Date)
- {VENDOR_NAME} = Inserts the name of the vendor receiving the message
- {VENDOR_USER} = Inserts the name of person responsible
- {ME_ORG} = Inserts the name of your Organization
- {ME_USER} = Inserts your name
- {OPPORTUNITY_NAME} = Inserts the Opportunity name (visible to all bidding vendors)
Click the Preview toggle, to view the message in draft form as it will be sent to the vendor(s).
Beneath the Content box, a Metrics to show Vendors section offers data points for you to select:
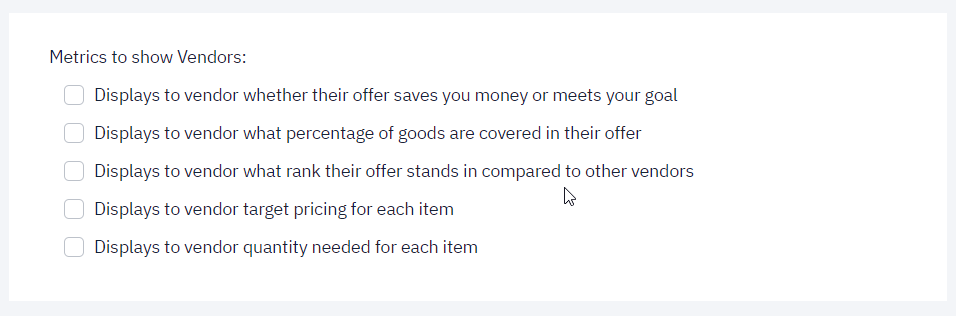
The standard metrics, that the vendor will see by default, are the list of products and the quantity purchased. The list above allows you to add to the metrics list.
Once you confirm all desired information in Step 6 - Summary, you can select to Publish the Opportunity to your chosen vendors.